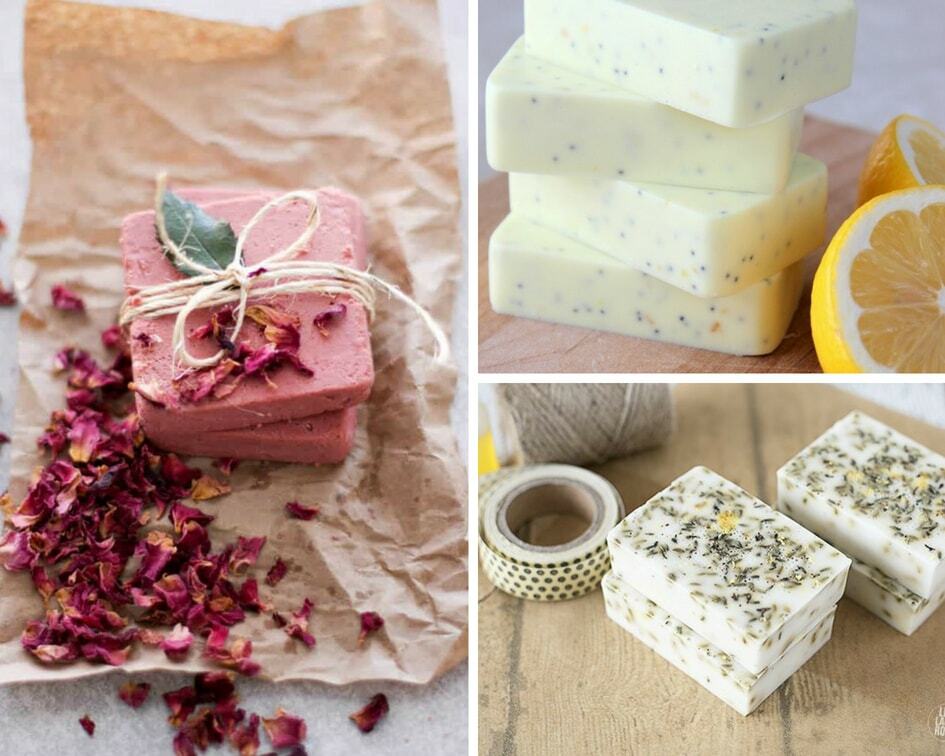
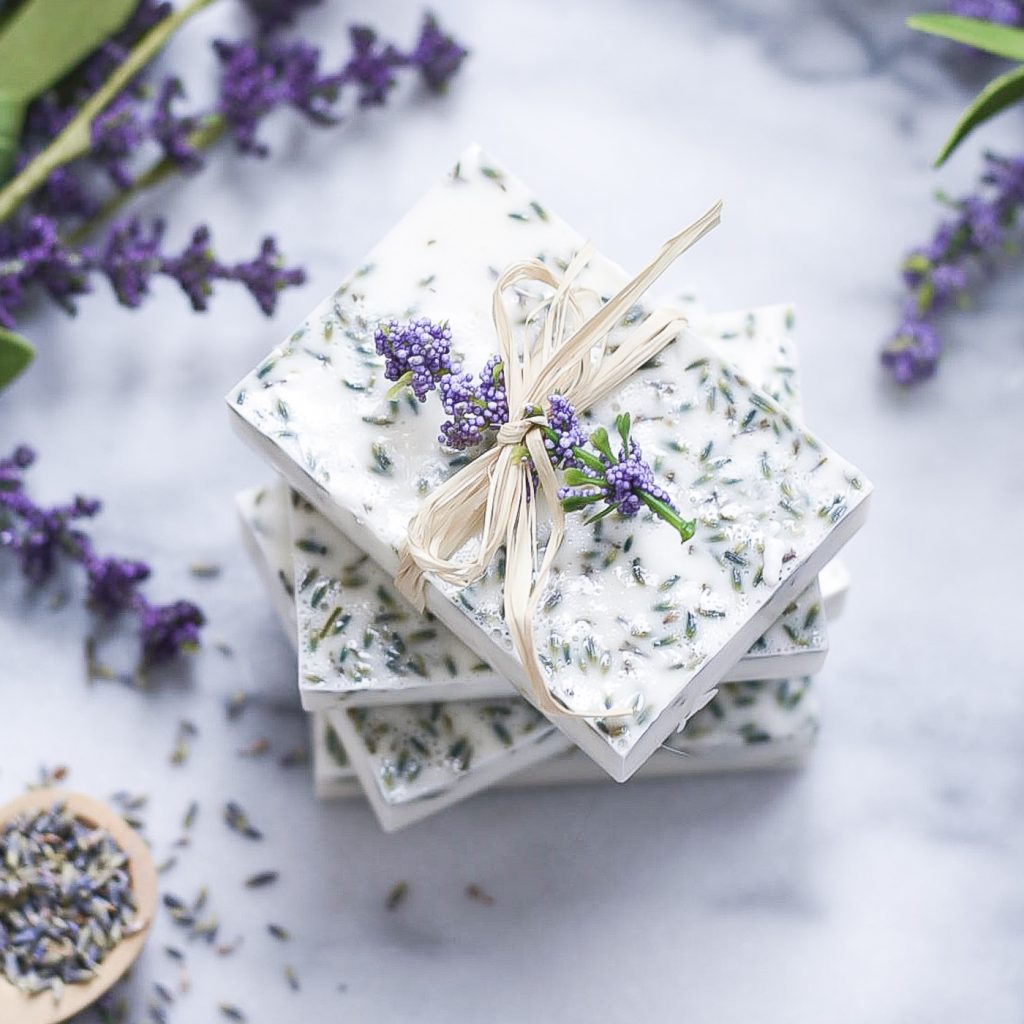
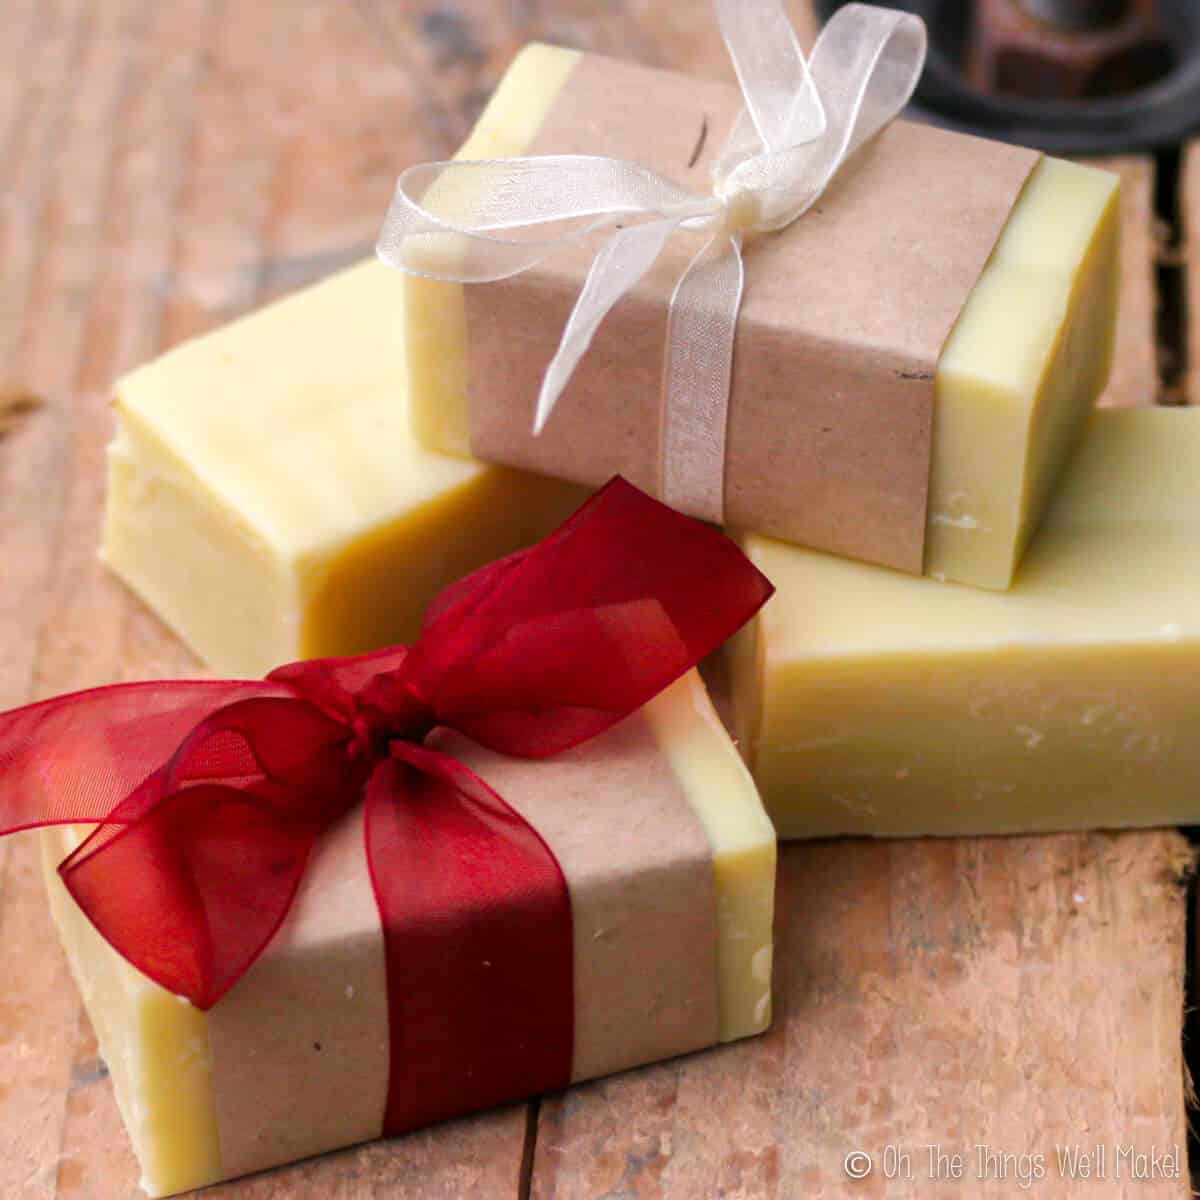
DIY soap sets the stage for a journey into the world of handcrafted cleansing, where you can transform simple ingredients into luxurious bars that pamper your skin. This exploration delves into the fascinating history of soap making, the benefits of creating your own, and the diverse techniques you can master.
From understanding the essential ingredients like oils and lye to mastering basic soap making methods like cold and hot processing, this guide equips you with the knowledge and skills to craft your own unique soap creations. Discover the joy of adding personal touches through colors, fragrances, and botanicals, and learn how to troubleshoot common soap making challenges.
Basic Soap Making Techniques
Soap making is a fascinating process that allows you to create personalized and natural products. There are two primary methods for making soap: cold process and hot process. Each method has its own unique characteristics, advantages, and disadvantages. Let’s delve into these techniques to understand their nuances.
Cold Process Soap Making
The cold process method involves mixing lye (sodium hydroxide) with oils or fats to create a soap paste. This mixture is then poured into molds and allowed to cure for several weeks. During the curing process, the saponification reaction (chemical reaction between lye and oils) continues, transforming the mixture into soap.
Here’s a detailed breakdown of the cold process soap making method:
Cold Process Soap Making Steps
- Safety Precautions: Cold process soap making involves working with lye, a caustic substance that can cause severe burns. Always wear protective gear, including gloves, goggles, and long sleeves. Work in a well-ventilated area and keep lye away from children and pets.
- Measure Ingredients: Precise measurements are crucial for successful soap making. Use a digital scale to weigh your oils and lye accurately. Consult soap making calculators to determine the correct lye amount for your chosen oil blend.
- Prepare Lye Solution: Add lye to cold water slowly, stirring constantly. The mixture will generate heat, so it’s important to work in a well-ventilated area. Allow the solution to cool to room temperature before proceeding.
- Combine Oils and Lye Solution: Once the lye solution has cooled, slowly add it to the oils, stirring constantly. Use an immersion blender to emulsify the mixture until it reaches a trace, a point where the mixture thickens slightly and leaves a trail on the surface when drizzled.
- Add Additives: This step is optional, but you can add essential oils, herbs, or other ingredients to your soap for scent, color, or exfoliation.
- Pour into Molds: Carefully pour the soap batter into prepared molds. Tap the molds gently to remove air bubbles.
- Curing: Allow the soap to cure for 4-6 weeks in a cool, dry place. During this time, the saponification process completes, and the soap hardens and becomes milder.
Safety Precautions in Cold Process Soap Making
- Always wear protective gear: This includes gloves, goggles, and long sleeves. Lye is a caustic substance that can cause severe burns.
- Work in a well-ventilated area: The reaction between lye and water generates heat and fumes. Ensure adequate ventilation to avoid inhaling these fumes.
- Keep lye away from children and pets: Store lye in a secure location out of reach of children and pets.
- Use caution when handling lye: Never add water to lye, as this can cause a violent reaction. Always add lye to water slowly, stirring constantly.
- Clean up spills immediately: If lye spills, neutralize it with vinegar and then clean the area thoroughly.
Hot Process Soap Making
The hot process method involves heating the soap mixture to accelerate the saponification reaction. This method produces soap that is ready to use sooner than cold process soap.
Advantages of Hot Process Soap Making
- Faster curing time: Hot process soap requires a shorter curing time, typically 2-4 weeks, compared to cold process soap.
- More control over consistency: The heat allows for greater control over the soap’s consistency, making it easier to achieve a desired texture.
- Reduced risk of lye odor: The heat helps to dissipate any lye odor that may be present in the soap.
Disadvantages of Hot Process Soap Making
- Less variety of additives: Some additives, such as delicate essential oils or herbs, may be damaged by the heat.
- Increased risk of overheating: If the soap mixture is overheated, it can become grainy or lose its lathering properties.
- More equipment required: Hot process soap making requires additional equipment, such as a crockpot or double boiler, to heat the soap mixture.
Comparison of Cold and Hot Process Soap Making
| Feature | Cold Process | Hot Process |
|---|---|---|
| Curing Time | 4-6 weeks | 2-4 weeks |
| Additives | Wide variety | Limited variety |
| Consistency Control | Less control | More control |
| Lye Odor | May be present | Reduced odor |
| Equipment | Basic | Additional equipment required |
Safety and Precautions

Soap making involves using lye, a strong alkali that can cause severe burns if not handled properly. It is crucial to understand and follow safety guidelines to ensure a safe and enjoyable soap-making experience.
Handling and Storing Lye Safely
Storing lye properly is essential for safety. Lye should be kept in its original container, tightly sealed, and stored in a cool, dry place, out of reach of children and pets. The container should be clearly labeled with the word “lye” and any relevant warnings.
- Always wear safety goggles and gloves when handling lye.
- Never add water to lye. Always add lye to water, as this helps to dissipate the heat generated during the reaction.
- Work in a well-ventilated area to avoid inhaling lye fumes.
- Use a dedicated container for mixing lye solutions and label it clearly.
- Store lye in a cool, dry place, away from direct sunlight and heat sources.
- Never store lye near food or beverages.
Proper Ventilation and Protective Gear, Diy soap
Proper ventilation is crucial when working with lye, as it releases harmful fumes. Working in a well-ventilated area is recommended, such as an outdoor space or a room with an exhaust fan. It’s also essential to wear appropriate protective gear, including:
- Gloves: Wear chemical-resistant gloves, such as nitrile or neoprene gloves, to protect your hands from contact with lye.
- Goggles: Wear safety goggles to protect your eyes from lye splashes.
- Mask: Use a respirator mask with a filter specifically designed for alkali dust and fumes to prevent inhalation of lye fumes.
- Long-sleeved clothing: Wear long-sleeved clothing to protect your skin from contact with lye.
- Closed-toe shoes: Wear closed-toe shoes to protect your feet from lye spills.
Packaging and Presentation

The way you package and present your handmade soap can significantly impact its appeal and sales potential. A well-designed presentation not only protects the soap but also enhances its visual appeal, making it more attractive to potential customers.
Packaging Options
There are numerous packaging options available for handmade soap.
- Soap Boxes: Cardboard boxes provide a sturdy and professional-looking option for packaging soap. They come in various sizes and can be customized with your brand logo, product information, and attractive designs.
- Gift Bags: Gift bags offer a convenient and visually appealing way to present soap. They are available in a wide range of colors, patterns, and sizes, allowing you to choose options that match your brand aesthetic.
- Shrink Wrap: Shrink wrap provides a clear, tamper-proof seal for soap bars, allowing customers to see the product while protecting it from dust and moisture.
- Tissue Paper: Wrapping soap bars in tissue paper adds a touch of elegance and can be personalized with ribbons or decorative tags.
- Reusable Containers: Sustainable options like reusable tins or glass jars can add a touch of sophistication and encourage eco-conscious practices.
Label Design
Soap labels play a crucial role in conveying essential information about your product and creating a lasting impression on customers.
- Product Information: Include essential details such as the soap’s name, ingredients, weight, instructions for use, and any relevant warnings.
- Branding: Design a logo and branding elements that reflect your soap’s unique character and appeal to your target audience.
- Visual Appeal: Choose high-quality images and a visually appealing layout that complements your soap’s colors and fragrance.
- Professionalism: Use clear fonts, a consistent design, and high-quality printing for a professional and polished look.
Presentation Tips
Creating a visually appealing presentation for your handmade soap can help attract customers and enhance the overall buying experience.
- Color Coordination: Choose packaging and labels that complement the colors of your soap, creating a cohesive and visually appealing presentation.
- Presentation Displays: Utilize attractive displays such as baskets, trays, or tiered stands to showcase your soap collection.
- Gift Wrapping: Consider offering gift wrapping options to enhance the presentation for special occasions.
- Photography: Capture high-quality photos of your soap that highlight its unique features and appeal to potential customers.
Marketing and Sales
Marketing and selling your handmade soap effectively requires a strategic approach.
- Online Marketplaces: Utilize online platforms like Etsy, Amazon Handmade, or Shopify to reach a wider audience and sell your soap globally.
- Local Markets and Craft Fairs: Participate in local events to showcase your soap and connect directly with potential customers.
- Social Media Marketing: Leverage social media platforms like Instagram and Facebook to promote your brand, share product photos, and engage with your audience.
- Word-of-Mouth Marketing: Encourage customer referrals and offer loyalty programs to foster positive word-of-mouth marketing.
Final Summary: Diy Soap

Embarking on the journey of DIY soap making is an enriching experience that combines creativity, practicality, and a touch of self-sufficiency. By understanding the fundamentals, experimenting with different techniques, and embracing the art of customization, you can create personalized soaps that reflect your individual preferences and cater to your specific skincare needs. So, gather your ingredients, don your safety gear, and embark on this exciting adventure of transforming simple ingredients into fragrant, luxurious, and personalized soap creations.
DIY soap making is a rewarding hobby that allows you to create personalized and natural products. While you’re busy crafting your fragrant creations, it’s important to remember the safety aspect of your computer, especially when downloading new recipes or templates.
A reliable antivirus like Clamav can help protect your system from malware and ensure a smooth crafting experience. Once your soap is ready, you can enjoy the fruits of your labor with peace of mind, knowing your computer is secure.


